
Quick start · 1 of 2
From the box to signed in.
You need your phone for the first few steps. The full guide, with every step pictured, is at kiterelay.com/setup.
In the box
- The KiteRelay unit ready to plug in
- Power supply into the socket marked 5V, right side
- HDMI cable into the only socket on the left side
- USB-C cable C at both ends, from CTRL to the other computer
- microSD card already fitted, leave it where it is
What goes where
Plug it in
- HDMI from the other computer’s screen output into the left side of the box. No HDMI? An adapter from USB-C or DisplayPort to HDMI.
- USB-C from CTRL into a USB-C port on the other computer. Only USB-A? A USB-C to USB-A cable.
- Power into 5V. Use the supply from the box, not the computer or a phone charger.


Get it onto your WiFi
Quick start · 2 of 2
- Open WiFi settings on your phone. The box makes its own WiFi network for setup.
- Read the small screen. Top line: the network, starting KiteRelay-. Bottom line, switching every four seconds: its password after Pw, and the address to open after Go.
- Join that network with the password from the screen.
- The setup page opens by itself. If it does not, type the address shown after Go into your browser. Read it off your own screen.
- Choose your home WiFi and enter its password. The box remembers it.
- Write down the address it shows on the page and the small screen. The setup network then disappears, which means it worked.
- Back on your home WiFi, open that address. Your browser warns that the connection is not private. Expected: choose Advanced, then proceed.
- Create your sign-in. A username, or blank for admin, and a password of at least ten characters.


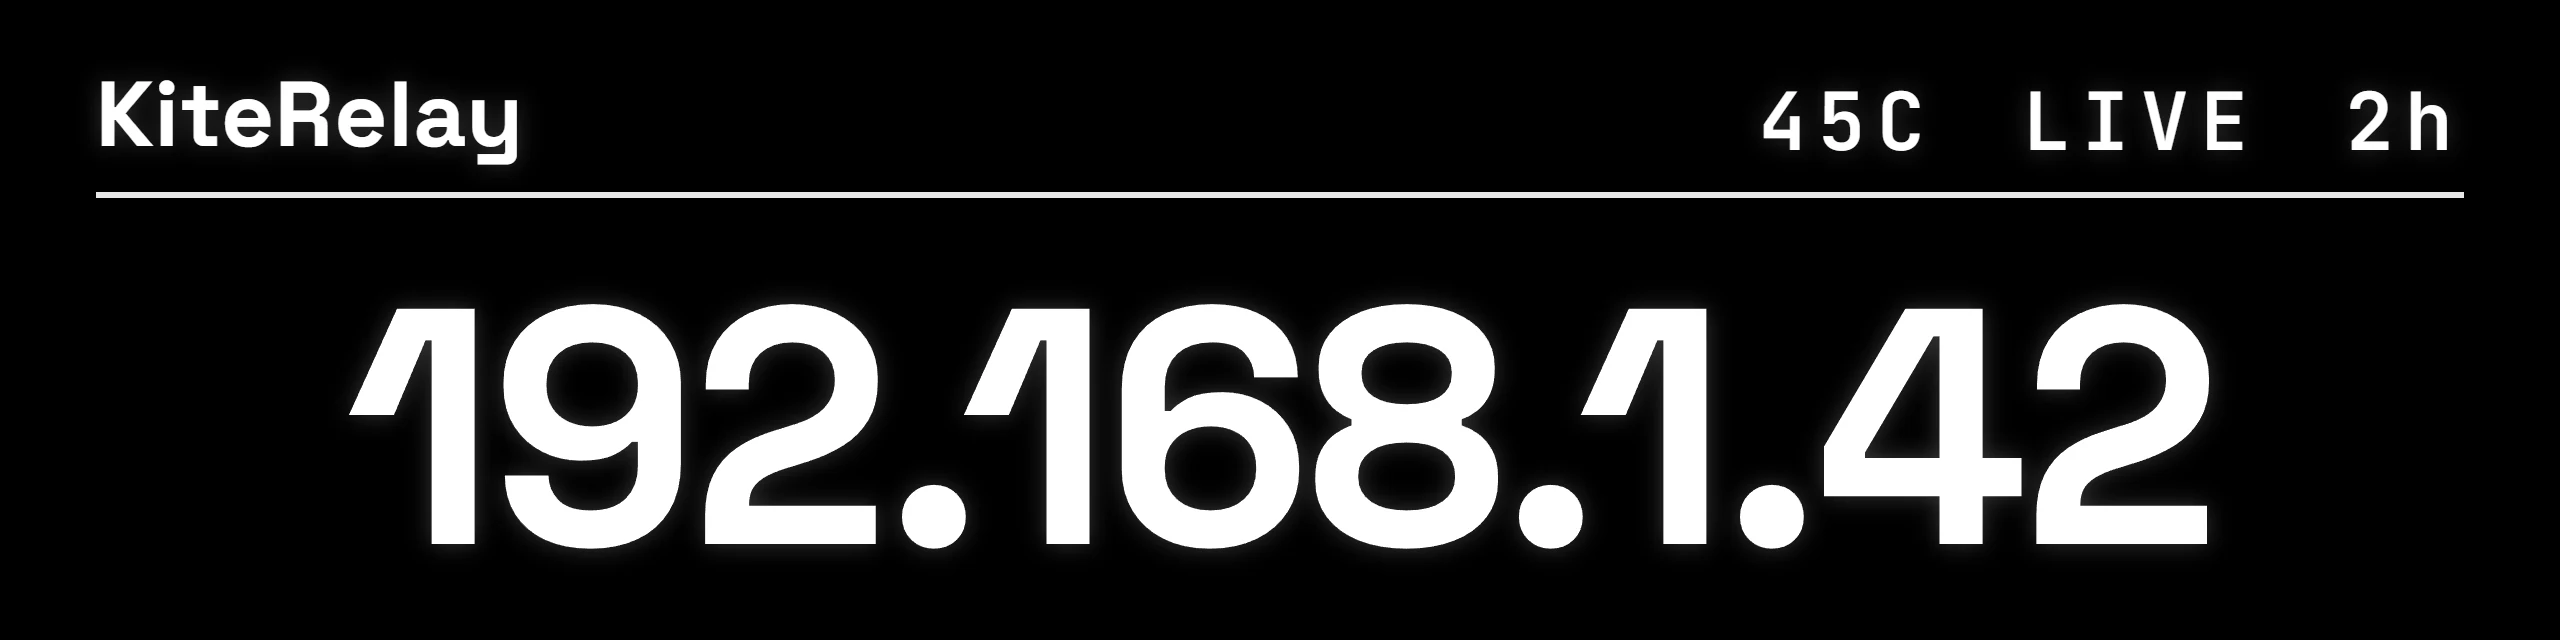
If the small screen says
- Looking for WiFi
- It is looking for a network it knows. Check the router; it opens setup again if the countdown runs out.
- WiFi failed
- The middle line says why. Rejoin its setup network and try again.
- Retrying shortly
- Setup restarts by itself in under a minute. No need to unplug it.
- No network - checking
- It has WiFi saved but cannot reach it. It keeps trying.
- Needs activation
- Only after its card is replaced. Email support the device ID shown at its address; paste back the KR1- code.
Every message, with what to do: kiterelay.com/help/screens
Away from home, later
In the Network drawer on the control page, follow the steps under Tailscale. Install the Tailscale app on the phone or laptop you connect from, signed in to the same account.
A person answerssupport@kiterelay.com
Full guidekiterelay.com/setup
Questionskiterelay.com/faq
For a computer you own, or one you are authorised to manage. The small-screen pictures are redrawn from the device; any address or password on them is an example.