
Setup · 1 of 2
Start here
Plug it in, power it up, and watch the small screen on the front tell you what it is doing. When it is ready, the second page gets it onto your WiFi and signs you in.
What’s in the box
- The KiteRelay unit. The box itself, ready to plug in.
- Power supply. 5.1 V, 3 A (15 W). Plugs into the socket marked 5V on the right side, beside CTRL.
- HDMI cable. Carries the other computer’s screen into the box, through the only cable socket on its left side.
- USB-C cable. USB-C at both ends. Runs from the socket marked CTRL to a USB-C port on the other computer. This is how the box acts as its keyboard and mouse.
- microSD card. The device’s own card, already fitted in the small slot low on the left side. Leave it where it is.
That is everything the box itself needs. The rest is what you need to have ready at your end.
What you need
- An HDMI output on the other computer. The cable in the box is HDMI. If that computer only offers DisplayPort or USB-C for video, you will need an adapter to HDMI.
- A spare USB-C port on the other computer. The cable in the box is USB-C at both ends. If the computer you want to control only has the older, rectangular USB-A ports, you will need a USB-C to USB-A cable or an adapter.
- A power outlet near the box. The box runs on its own supply, not the other computer’s USB.
- WiFi at home. Both the box and the device you use to control it need to be on the same WiFi.
- A phone for the first setup. Only for the very first setup, to get it onto your WiFi.
Will it work with my computer?
Three questions about the computer you want to control, and the answer names any adapter you would need.
Prefer paper? Download the two-page quick start (PDF), or open it to print.
Remote access from outside your home is optional and set up later. It uses Tailscale, which is free for personal use, with the app installed on whatever you connect from.
What goes where
Plug it in
Connect the HDMI cable from the other computer’s screen output into the only cable socket on the left side of the box. The smaller opening near the other end of that side, lower down, holds the microSD card, which is already fitted; the HDMI cable does not go there.
Every other socket is on the right. Run the USB-C cable from CTRL into a USB-C port on the other computer, then plug the power supply into 5V beside it. Both are on that right-hand wall. Use the supply from the box: a plain 5 V phone charger is not enough to run it.
Watch it start
The small screen on the front says what the box is doing at every stage of its first start, so you never have to guess whether it is working. It shows its logo, sets itself up, builds its own identity, then looks for a WiFi network it knows.

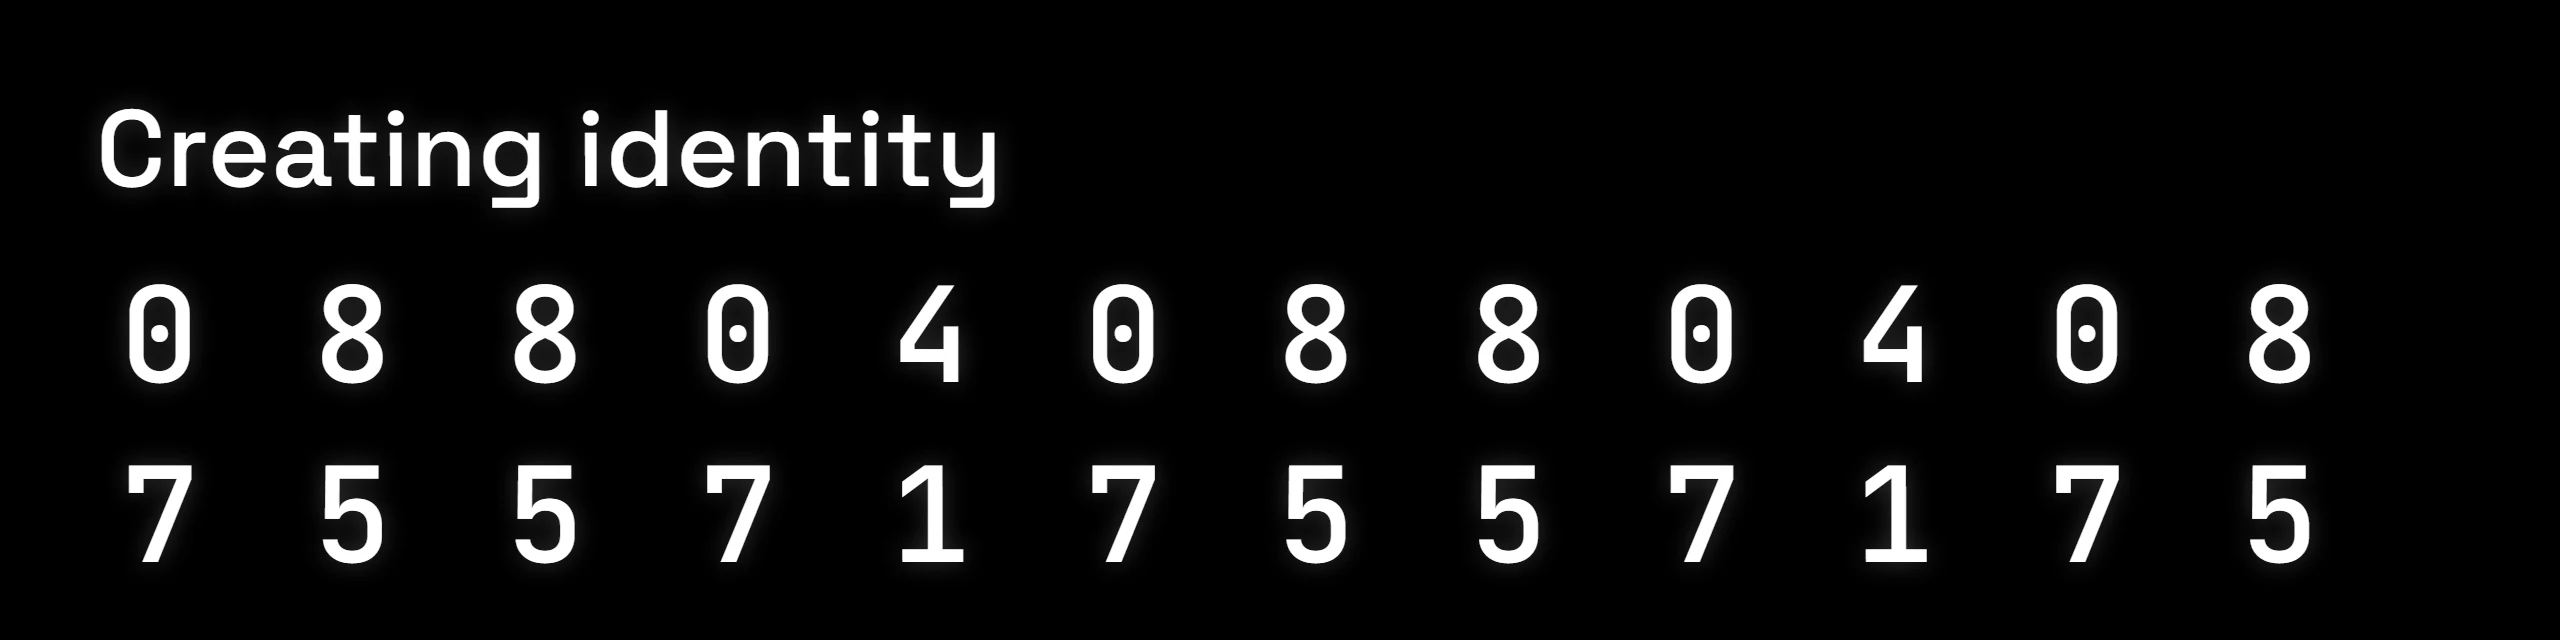
Building its identity takes a moment the first time. The scrolling digits show it is working, not how far along it is, so there is nothing to wait for a bar to fill.
When the screen shows a network name that starts with KiteRelay-, it is ready for the next part.
Stuck on something? The questions people actually ask covers the common ones.